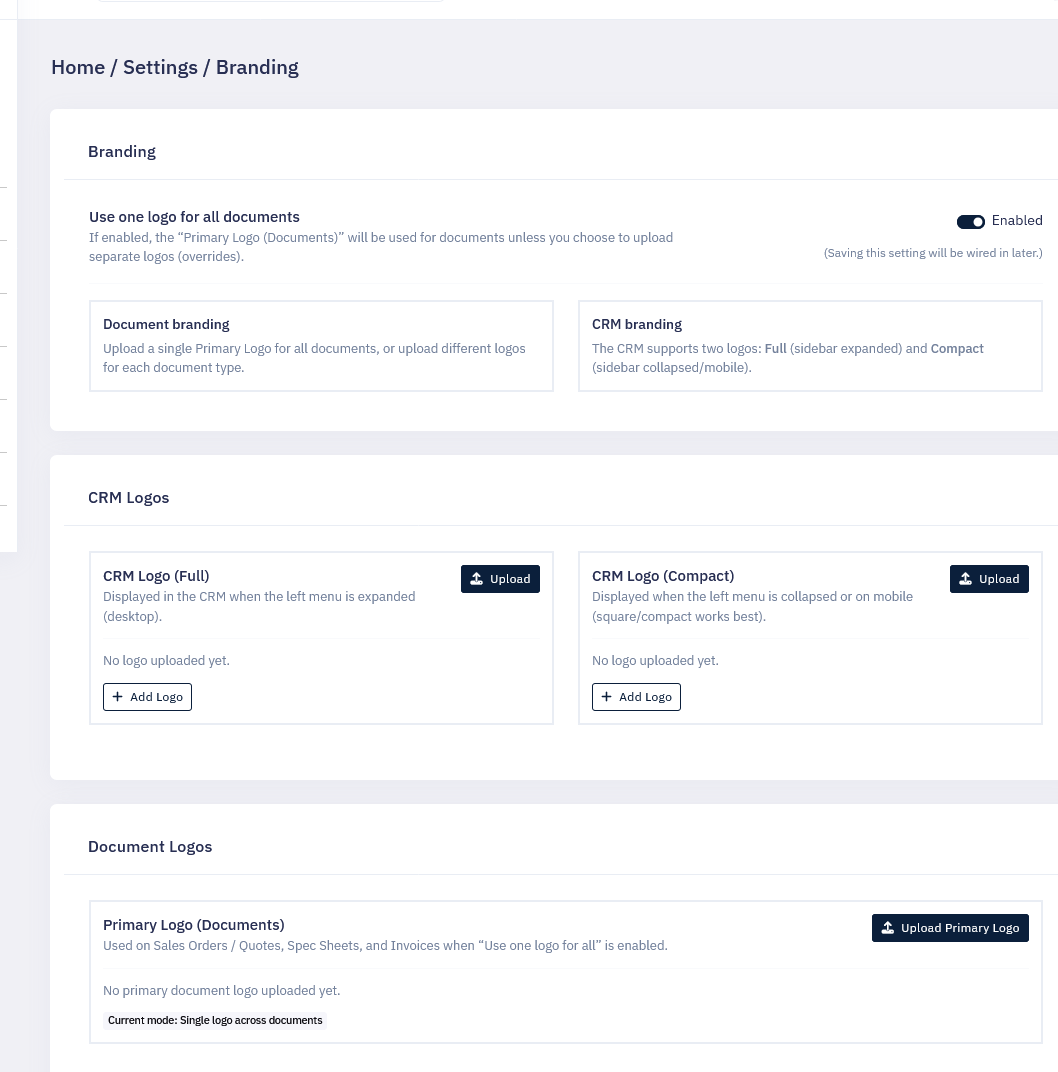
Settings: Branding
Learn how the Branding section lets you upload your own logos for different areas of the CRM, so your system and documents reflect your own business identity.
Thought Process
The Branding section is designed to give each client control over how their business appears throughout the CRM. Some businesses want to keep one logo everywhere for simplicity, while others need different branding depending on where the logo is being shown.
That is why this area allows the choice of either using a single logo across the system or uploading separate logos for specific sections. This keeps the setup flexible while still being easy to manage.
Why this matters
Good branding helps the CRM feel like part of your own business rather than a generic platform, especially when staff are logged in or when documents are sent out to customers.
Why flexibility helps
Some logos work well on screen but not as well on printed or exported documents, so separate branding options make the output more professional.
What the Branding Section Covers
CRM Branding
This is the logo shown inside the CRM once the user is logged in, helping the platform reflect the customer’s own company identity.
Document Branding
This controls the logos used on outward-facing documents such as quotes, invoices, reports, and specification sheets.
Single logo option
If preferred, the same logo can be used for all branding areas to keep setup simple and consistent.
Separate logo option
If needed, different logos can be uploaded for different sections so each area uses the most suitable version.
Branding Areas You Can Manage
CRM Branding
Used within the logged-in CRM so staff see the client’s own logo while using the system.
Sales Orders and Quotes
Used on commercial sales documents where presentation and consistency are important for customer-facing output.
Invoices
Used on invoice output so billing documents match the business identity being presented to the customer.
Product Specification Sheets
Used where specification documents or technical sheets need their own branded presentation.
Reports
Used on report outputs so exported or generated reports carry the correct branding for the account.
All Documents
Where one shared document logo is preferred, the same branding can be used across all document types instead of setting them one by one.
Simple Walkthrough
- Go to Settings.
- Open the Branding section.
- Decide whether you want to use one shared logo or separate logos for different sections.
- Upload the logo you want to use for the CRM itself.
- Upload a shared document logo, or set individual logos for quotes, invoices, specification sheets, and reports.
- Save the changes so the branding is available across the relevant areas of the CRM.
Getting the Most From Branding
Use the right logo shape
A logo that looks good in the CRM header may not always look best on a PDF or invoice, so test both screen and document use.
Keep it clean
Simple logos with good spacing usually work better across different outputs than detailed images with very small text.
Check a sample output
After uploading branding, test a real quote, invoice, or PDF so you can see how the logo appears in the final document.
Start simple first
If you are unsure, begin with one shared logo and only move to separate document logos if there is a real need.
Branding Screen Example